NFA Manager
You can open the NFA Manager by clicking the  on the NFA tab in the main application Ribbon Bar.
This will open a tabbed form where each tab is a different NFA form type 2, 3, or 4.
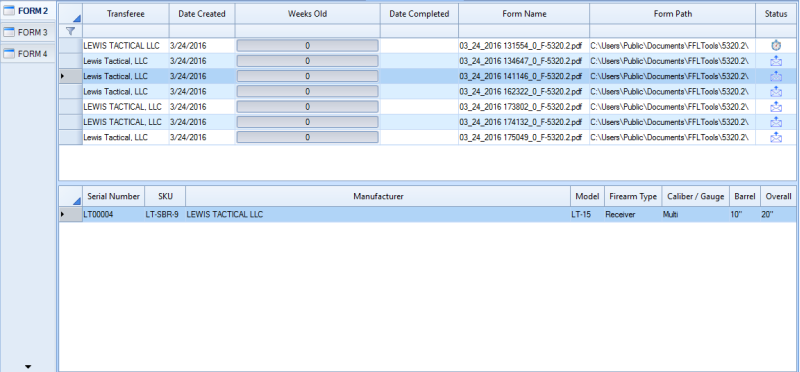
NFA Form 2 Grid
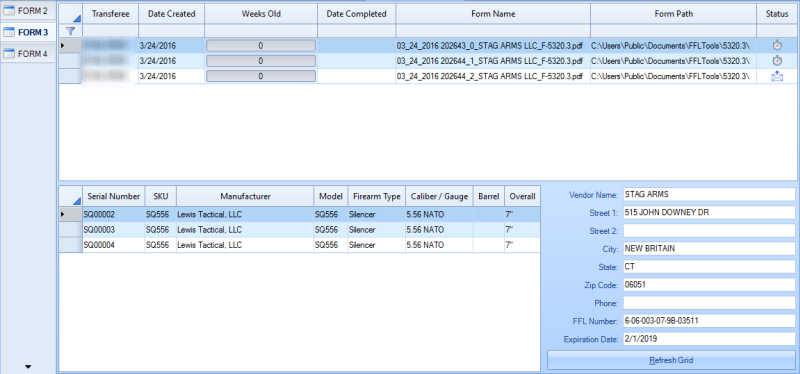
NFA Form 3 Grid
NFA Form 4 Grid
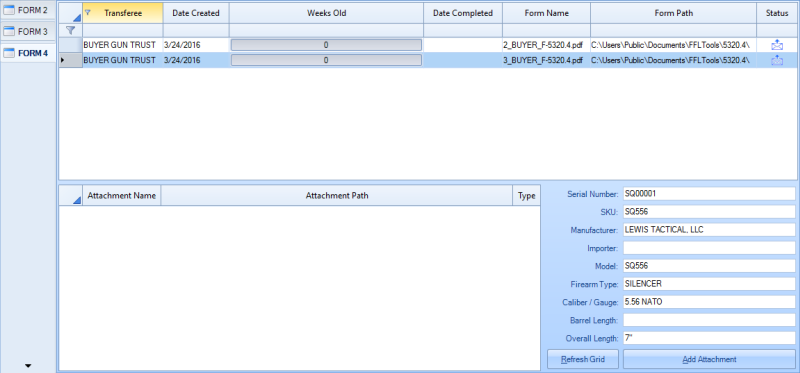
There is a tab for each form type on the left hand side of the form. Information for each form type is the same in the upper grid. When a form is first created the record for it will display  for Status. The Date Created will be set automatically.
To keep track of the true status of a form you should right click each created form record and choose  Mark Form Submitted from the pop up menu. You should do this when you have actually sent the form off
in the mail to the ATF. Doing this will change the Status icon to  and change the Date Created to the date on which you submitted the form. This is a more accurate representation of how many Weeks Old the form is. Form 2s are the only
forms for which the Mark Form Completed menu option is available. Forms 3 and 4 are set automatically through the act of disposing the firearms. The Status image for a form that has been completed is  and the Date Completed will be set.
Setting a form completed will halt the calculation of how many Weeks Old the form was in process.
The forms grids are sortable and filterable to help you locate any given form.
NFA Form Details
There is a separate grid at the bottom that displays additional information for the form based on the form type. For a Form 2 or Form 3, the grid will display the firearms on the form.
Pictured below is the grid for a Form 3.

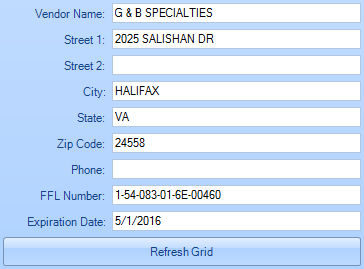
A Form 2 has only a firearms grid displayed at the bottom of the form. Forms 3 and 4 provide additional information as well. For a Form 3 the Vendor Information that the NFA firearm(s) are to be disposed to is listed to the right of the firearms grid.
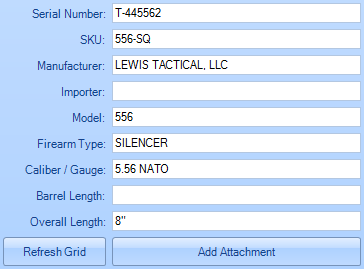
a Form 4 displays the firearm information in the right hand information panel.
NFA Form 4 Attachments
After creating a Form 4 you can select attachments to associate with the Form 4 for organizational purposes. Each attachment is moved to a sub directory named in reference to the associated Form 4.

To add an attachment simply click the  button and browse to the file on your computer. The attachments can be opened by double mouse clicking them in the grid.
To delete an attachment, right click the attachment in the grid and choose Delete Attachment from the pop up menu  .
.