Setting the Options for FFL Tools is extremely important as the system uses information from the options page to correctly create the 4473, 3310.4, 3310.11 forms and to generate the 4473 Transaction Serial Number that identifies the 4473 in the Bound Book.
Open the Options page by clicking the Options button in the upper left part of the application ribbon.

The Options Module will open. Note the Options Module changes frequently as we add more functionality to the application. Updates to Help are made without always updating every image.
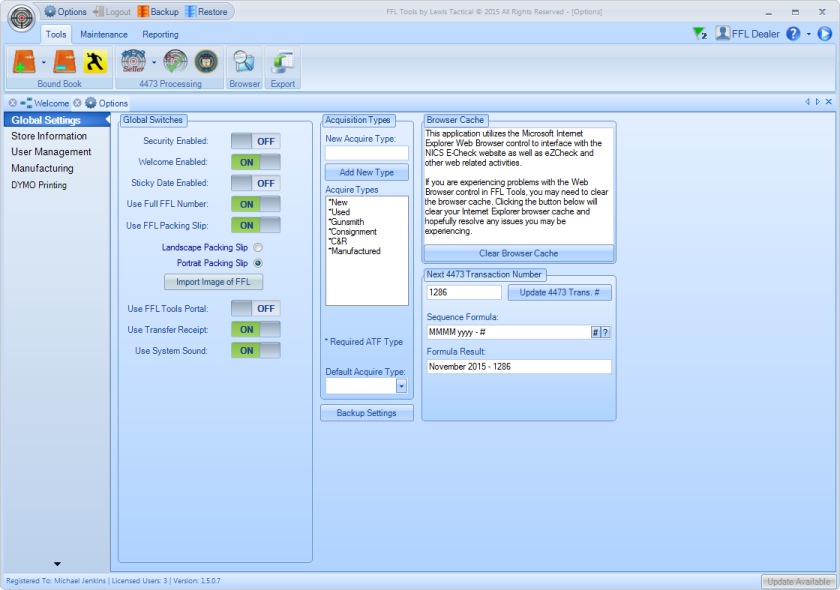
Default Acquire Type Added
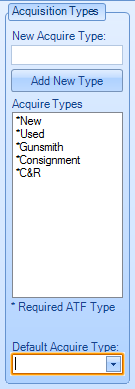
You can use the Default Acquire Type ComboBox to set the Acquire Type that you want by default when Acquiring a new firearm. If none is specified then New is chosen by default.
There are several Global Settings switches in the Options Module. This is one of those sections that is constantly evolving as we add new functionality.
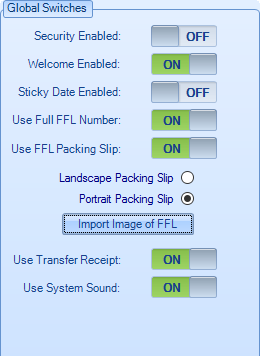
Security Settings
When the Security Enabled is set to On the user has to provide a user name and password each time FFL Tools runs. This setting will also enable the Logout button.
When the Security Enabled is set to Off the user does not have to provide any login information when FFL Tools runs. The Admin account is used as the logged in user. This setting will disable the Logout button.
This control works like a light switch. Clicking On will switch it to Off, clicking Off will switch it to On.
When the Welcome Enabled is set to On the Welcome Page will display when FFL Tools starts. If the Welcome Page is closed, it can be re-opened by clicking the Target Icon in the upper left hand corner.
When the Welcome Enabled is set to Off the Welcome Page will not display.
When the Sticky Date Enabled is set to On dates will remain set in the Acquisition and Disposition forms when the forms are cleared after an action like Save or Dispose.
When the Sticky Date Enabled is set to Off dates will be reset to todays date when the forms are cleared after an action.
When the Use Full FFL Number is set to On the complete FFL Number is required for all forms that use the FFL Number. The complete FFL number will be displayed on all reports. When a Vendor record needs to be re-FFL eZCheck due to the FFL expiration, the complete new FFL Number will be required to re-verify the Vendor.
When the Use Full FFL Number is set to Off the forms that use the FFL Number will only require the first 3 and last 5 digits. The remaining number will be masked to -XXX-XX-XX-. Only the first 3 and last 5 will print on reports.
FFL Tools provides two different Packing slips that can be used for FFL to FFL transfers. These packing slips provide a simple way to identify the information about the transfer.
The Landscape packing slip only provides the Seller's and Receiving FFL's information along with options to include the Buyer's name and phone number.
The Portrait packing slip includes additional options for Buyer's information and Cost of the firearm. The main advantage of the Portrait packing slip is a 1/2 page copy of your FFL can be included.
To see examples of the packing slips view FFL Holder in Dispositions of Firearms.
To use an FFL Packing Slip, turn the Use FFL Packing Slip switch to On. If Landscape is selected no further configuration is needed. If Portrait is selected you will need to add an image of your FFL so it will print on the packing slip. The image should be just the top half of the FFL, in an image format, (.png, .gif, .jpg, .bmp) and no larger than 720px wide by 480px high. Once you have the image of your FFL saved on your computer, click  to display the Image Import Dialog.
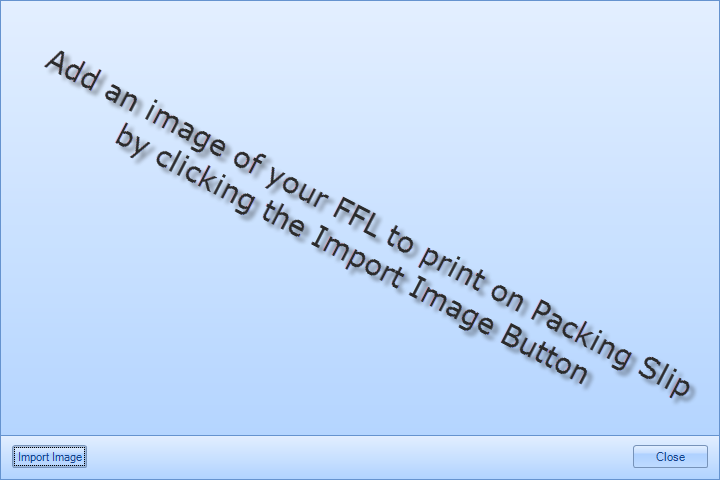
Click  and browse to the file location and click the OK button. The Image Import Dialog should look like this (but with an image of your FFL).
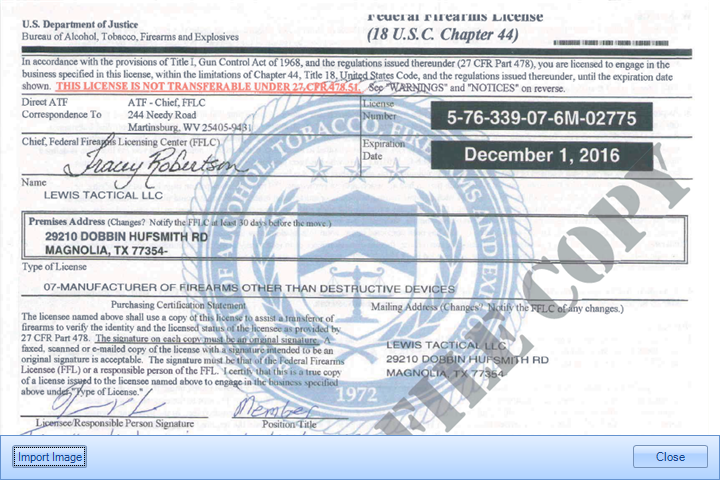
Click  to close the form.
The Transfer Receipt can be used when you perform a firearm transfer. This receipt includes options for your logo and other contact information and also provides a place for a disclaimer. When the Transfer Receipt switch is turned ON the following dialog is displayed:
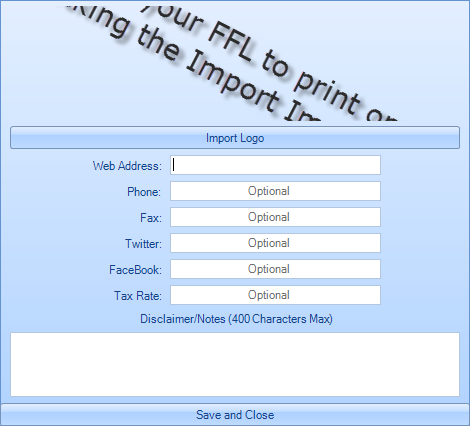
Click the  to select your logo. Provide the additional information if needed. Put in your Tax Rate % if you charge tax on transfers. You can also add any type of disclaimer text up to 400 characters. When done it will look like:
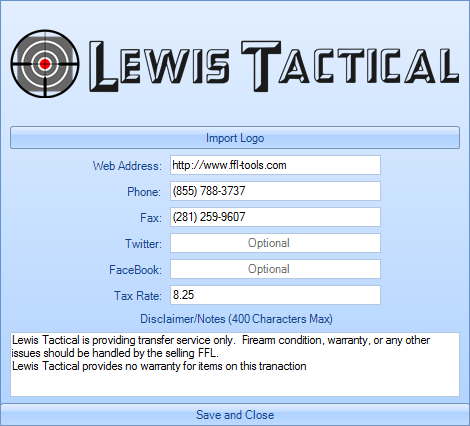
Click  to close the form.
When Transfer Receipt is turned on a new check box will be displayed in the Electronic and Paper disposition modules.
FFL Tools generates a 4473 Transaction Number each disposition using a 4473. This transaction number is displayed in a dialog box in the Disposition Module. FFL Tools allows for prefixes / suffixes to be added to the 4473 Transaction Number within the confines of some defined parameters. If you leave the Sequence Formula input empty, then just the Next Sequence number will be used. However you can specify a formula and that will generate the Next 4473 Transaction Number according to the formula you specified. Clicking on # will display some example formulas for you to choose. The Formula Result outputs what that next transaction number would be based on the formula. Clicking the ? mark button will cycle through the different support formula parameters and display what those are in the Formula Result.
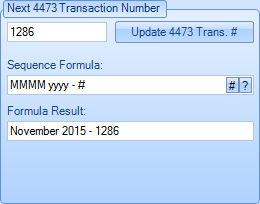
The Sequence Formula is dynamically saved as you edit. To illustrate this you can change the formula then exit options. When you reopen options, the last formula you specified will be displayed.
By default the Next 4473 Transaction Number is set to 1.
 to save the new number.
FFL Tools has the following pre-defined Acquisition Types: New, Used, Gunsmith, Consignment, and C&R. Manufactured will also be an Acquisition Type if Manufacturer Radio button is set to Yes in the Store Info Section of Options. The user also has the ability to add custom Acquisition Types.

Enter in the New Type in the New Acquire Type text box and click  . The new Acquire Type will be added to the list.

To remove a custom Acquisition Type, just double click it in the Acquire Types list box. Note: Items that have an * in front of them are default types and cannot be removed.
Backup Options
FFL Tools performs an automated daily backup from the Backup Service which is installed when FFL Tools is installed. The Backup Options provides the ability to automate copying of backups to an FTP site, another drive on the same computer, or a drive on another computer on the same network. It is possible to copy backups with these settings to any mapped drive. Some customers use Dropbox or Google Drive for their off-site retention. You can retain backup copies on USB devices which are connected to the computer hosting the database as long as those devices remain attached.
Note: If the database has been installed on a different computer than the FFL Tools application, backup files are stored on that remote computer, and retention operations happen from that computer.
Click  to open
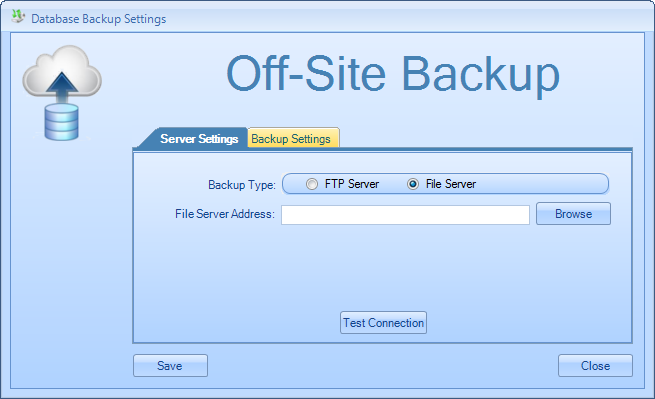
Server Settings Tab
To a File Server or Different Drive/Directory
To copy the database backup files to another drive or computer on the local network, click  to open the
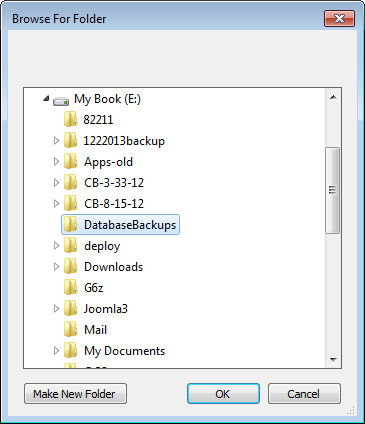 dialog. Browse to the directory that the backups are to be stored on and click
  and the File Server Address field will be filled in with the selected location. If you are configuring these settings from a computer not hosting the database, your choices must be accessible from the computer hosting the database as well.
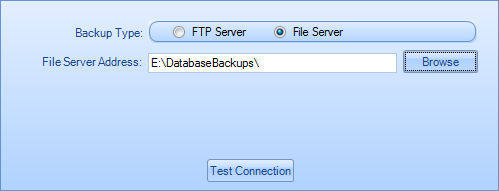
Click  to verify that the selected location can be written to by the system. If successful
 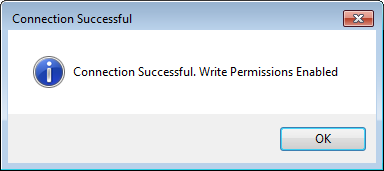 dialog will be displayed. Click
  to save the Server Settings.
To an FTP Site
Select  to display
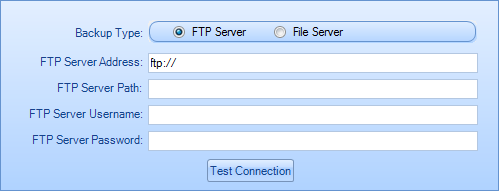
Enter the FTP Server Address, FTP Server Path, FTP Server Username, and the FTP Server Password and click  . This will test that the FTP server can been accessed with the supplied credentials. It will also test that the FTP Server Path is valid. Two dialogs will be displayed:
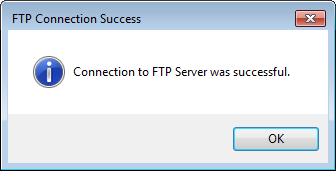 if the system could find and login to the FTP server, and
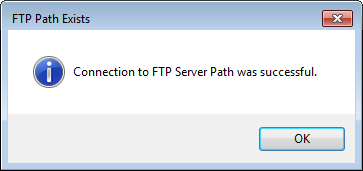 if the FTP Server Path is valid.
Click  to save the FTP Settings.
Backup Setting Tab
Click the Backup Settings Tab to display 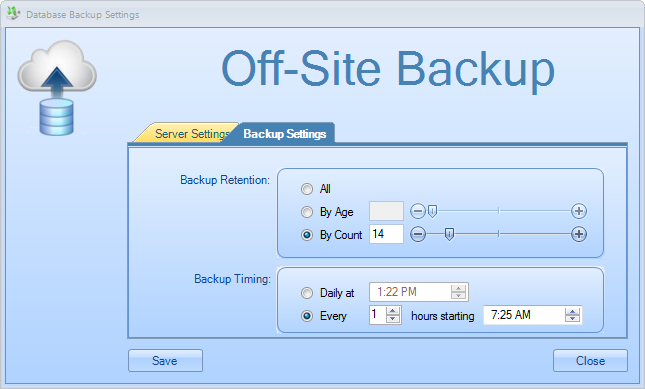
Backup Retention Settings
FFL Tools stores automated and user initiated backups in C:\FFLTools\Backups folder on the computer that hosts the database. This setting defines either how long (number of days of backups), or total count (the newest) to keep of the automated backups.
If  is selected, no backup files will be deleted from C:\FFLTools\Backups folder. It will be up to the FFL holder to purge unwanted backups from the system.
If  is selected, then the number of days' worth of backups that has been specified will be saved in C:\FFLTools\Backups folder. The desired number of days' worth of backups to keep can be entered into the text box or by using the slider control.
If  is selected then the number of files that have been specified will be saved in C:\FFLTools\Backups folder. The desired number of backup files to keep can be entered into the text box or by using the slider control.
Backup Timing
Daily at
If  is selected, the Backup Service will backup your database every day at the selected time. The new backup will then be copied or FTP'd based on the settings on the Server Settings Tab.
Every
If  is selected, the Backup Service will backup your database at the specified time, and every X amount of hours after that based on your choices. The new backup will then be copied or FTP'd based on the settings on the Server Settings Tab.
NOTE: Whatever computer the FFL Tools Backup Service is running on must be running during the time selected or no backups can be performed. Unless stopped, services run whenever your computer is powered on.
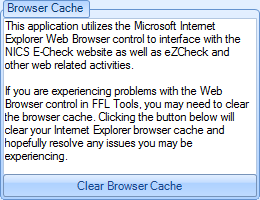
Clear Browser Cache
FFL Tools utilizes the Internet Explorer Web Browser control to access on-line websites such as the NICS system, State Background Check websites and others. On rare occasions, this interface may not function properly. We have found that it is usually due to cached files for the browser. You can clear the cache of your Internet Explorer browser through IE directly, or you can attempt to clear the cache using the button below provided in Options. If this fails to resolve the problem you will have to clear your cache through IE directly.
NOTE: Delete user has been changed to Deactivate User. This was necessary to retain historical information in the database.

If you decided to set Security Enabled to Off, then you need to edit the Admin user. Use the Username drop down list and select the Admin user. The Users section should now look like this.

Enter the Fullname that will be printed on the 4473 form.
Enter the Title as it should be printed on the 4473 form.
Click  to save changes made.
By default the Admin user can run all Task (Modules) in FFL Tools. Altering the Allowed Tasks for the Admin user will have no effect on the permissions of the Admin user. The Admin user will always have all privileges within the application.
Add a new User
 to create the new user.
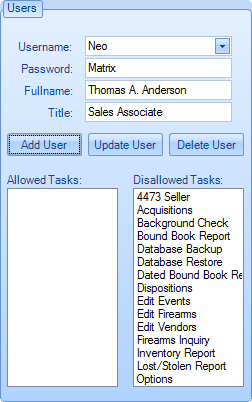
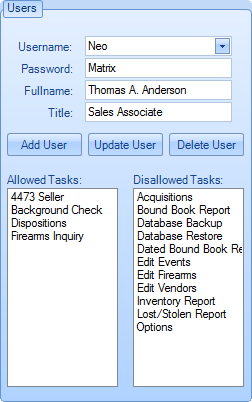
 to save changes. In this example we assigned Neo 4473 Seller, Background Check, Dispositions, and Firearms Inquiry.
Note: By assigning Options as an Allowed Task to a user, that user will be able to modify any of the option settings including making changes to other users in the system.
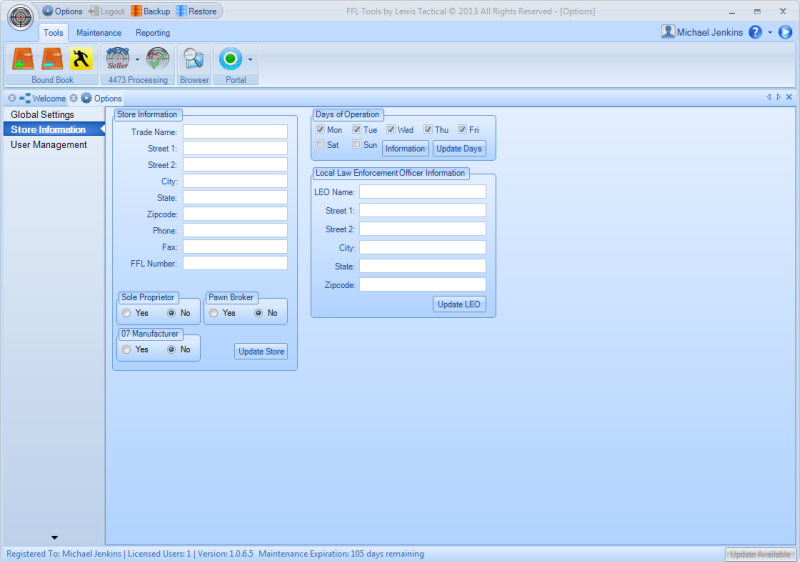
The Store Information is required to allow the system to complete the 4473, 3310.4, and 3310.11 forms. This information is also displayed on the printed Bound Book and Inventory reports.
There is no error checking for the Store Information and it is the FFL holder's responsibility to ensure this information is accurate.
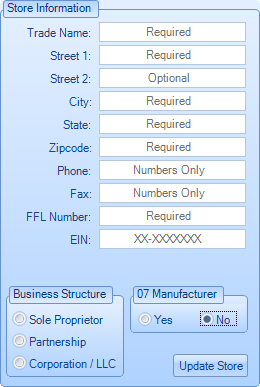
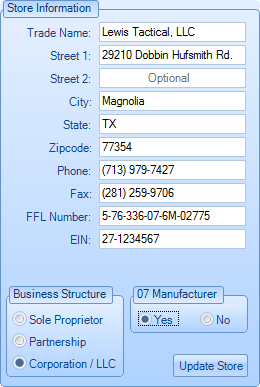
 to save the information.
The Days of Operation is a key component to define the "Five Business Days" used by the system to calculate when a 3310.4 Multiple Handgun Sales report is generated. By default Mon-Fri are checked which represents the BATFE's five business days.

It is important that the FFL holder contacts his or her local ATF Inspector or Agent to determine how the five business days' rule is applied. The developers of FFLTools have found many conflicting reports of how the five business days' rule is implemented in different areas. Because of this, FFL Tools takes the most restrictive approach to calculating when a 3310.4 is generated. Here are some examples to better understand how the Days of Operation are used.
Example 1: Mon-Fri are checked
A customer purchases a handgun on Tuesday, Aug. 6th 2013. Wednesday is day 1, Thursday is day 2, Friday is day 3, Saturday and Sunday are not counted, Monday is day 4 and Tuesday is day 5. If the same customer purchases another handgun between Tuesday, Aug. 6th 2013 and Tuesday, Aug. 13th 2013, FFL Tools will generate an ATF E-Form 3310.4 to report the multiple handgun sales.
Example 2: Mon-Sat are checked
A customer purchases a handgun on Tuesday, Aug 6th 2013. Wednesday is day 1, Thursday is day 2, Friday is day 3, Saturday is day 4, Sunday is not counted, Monday is day 5. If the same customer purchases another handgun between Tuesday, Aug 6th 2013 and Monday, Aug 12th 2013, FFL Tools will generate an ATF E-Form 3310.4 to report the multiple handgun sales.
Example 3: Mon, Wed, and Fri are checked
A customer purchases a handgun on Monday, Aug 5th 2013. Wednesday, Aug 7th is day 1, Friday, Aug 9th is day 2, Monday, Aug. 12th is day 3, Wednesday, Aug 14th is day 4, Friday, Aug 16th is day 5. If the same customer purchases a handgun between Monday, Aug. 5th and Friday, Aug. 16th 2013, FFL Tools will generate an ATF E-Form 3310.4 to report the multiple handgun sales.
Example 3 highlights some of the conflicting information that has been received on the five business days' rule. Lewis Tactical's management was informed by the ATF Inspector in the initial interview that the way he interpreted the rule was based on what caused the longest time between day 1 and day 5. We cannot stress enough how important it is for the FFL holder to verify with the local ATF Inspector how he or she interprets the five business days' rule so FFL Tools will generate the ATF E-Form 3310.4 in a manner that is compliant with the BATFE's rules as they are applied.
Modifying Days of Operation
 to save the selected Days of Operation.
Local Law Enforcement Officer Information
The Local Law Enforcement Officer Information is used by FFL Tools to auto-fill the correct fields in the 3310.4 and 3310.11 forms.

 to save the information.
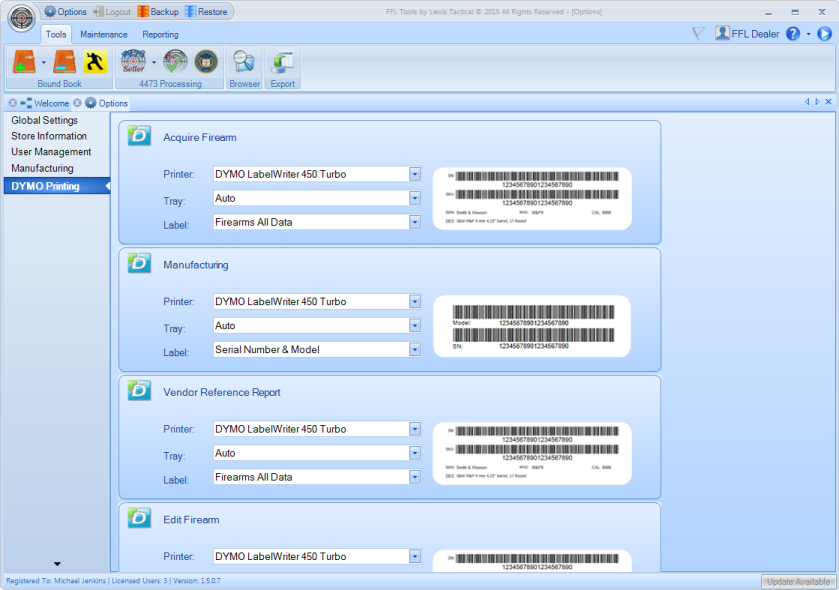
If you have a DYMO Printer connected to your computer, Options will display an additional Tab for you to configure the printing system. You will be presented with a collection of Modules to configure. Please choose the Printer, Tray, Label for each module displayed. The list of modules you are presented with may not be the same as is pictured above.