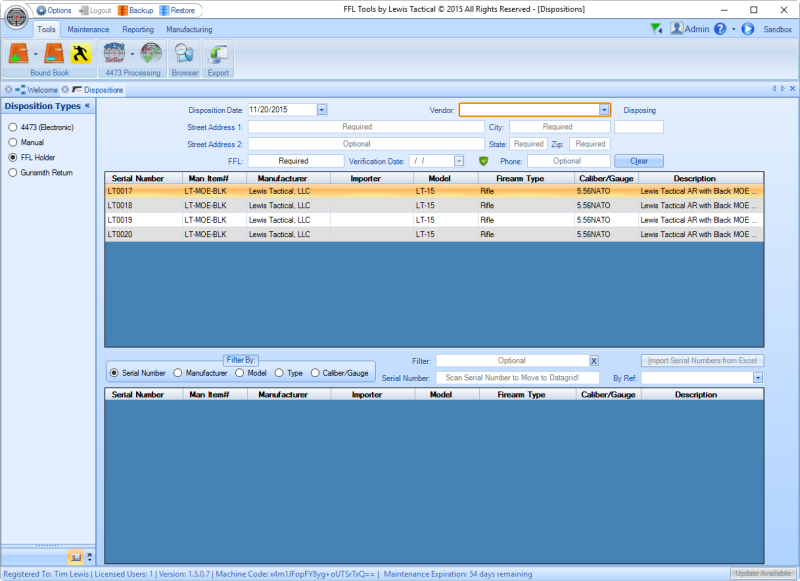
Open the Dispositions Module by clicking  on the Tools Tab.
Click the  and a Data grid of all available firearms will be displayed.
Step 1: Select or Add a New Vendor
Using the Vendor drop down list, select the FFL holder 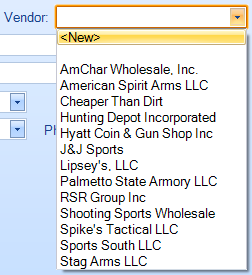 . If the FFL holder is not in the drop down list, select
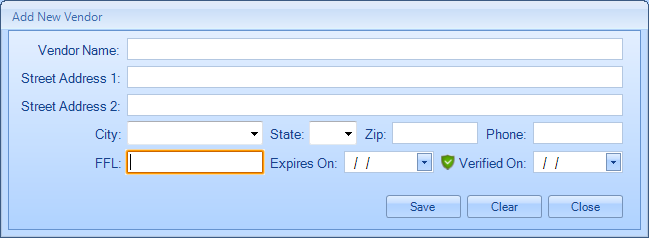
When the Add New Vendor dialog opens the FFL: field will have focus. Type in the first three and the last five digits of the FFL number, do not type in the dashes (-). Once the FFL number has been entered press the Verify  image that is between the Expires On: and Verified On: dates. (NOTE: Computer must be connected to the Internet for the Verify process to function).
By clicking the Verify image, an eZCheck is performed using the FFL number entered. Time to perform the eZCheck will depend on the speed of the Internet connection. Upon completion of the eZCheck several things will happen:
(Note: The ATF Online eZCheck system returns the address on a single line. If multi line addresses are desired please edit the address as needed.)
Click the Save button and the Add New Vendor dialog will close and control will be returned to the Disposition Module. The newly added Vendor will be selected.
If the Vendor's FFL has expired, or the FFL Number is not formatted to meet the requirements as determined by the Use Full FFL Number switch in Options, please see help on Using Full or Updating Expired FFL Numbers.
If the FFL holder was in the list, it is a good practice to re-verify that the FFL holder is still valid by pressing the .
Step 2: Select Firearm(s) to Transfer
Double clicking the firearm you wish to transfer to the selected vendor will move that firearm record to the lower grid. The disposing counter will be incremented as firearms are added.
Continue this process until all firearms that are to be transferred have been added.
To remove a firearm the disposition, right click it to display  . Click Remove Firearm and the record that was right clicked will be removed from the disposition and the Disposing counter will be decremented.
Click  to process the disposition.
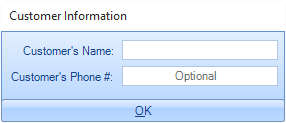
If Use FFL Packing Slip in Options is ON and Landscape Radio Button is selected the Customer Information Dialog box will display with just the Customer's Name and Phone Number fields:
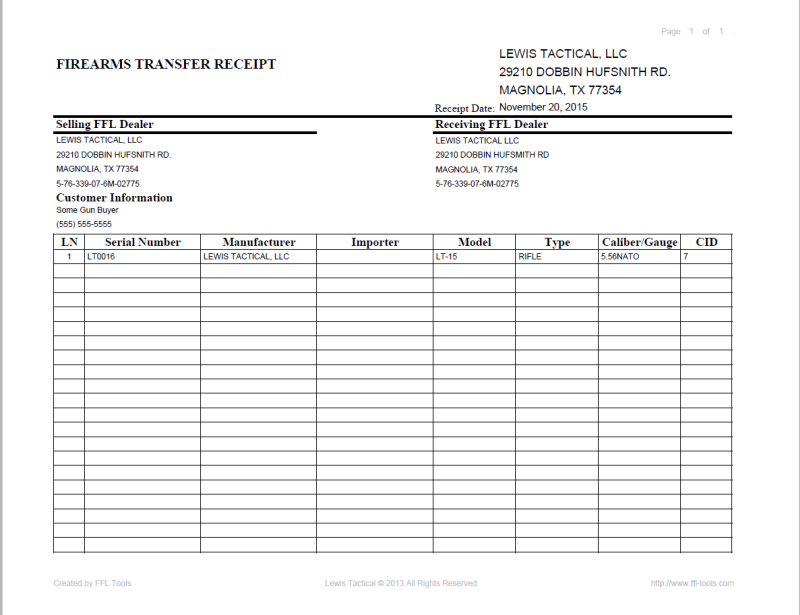
 Both fields are optional and if not supplied will not show on the Packing Slip. Here is an example of the Landscape Packing Slip:
If the Portrait Radio Button is selected then the Customer Information Dialog will look like this:
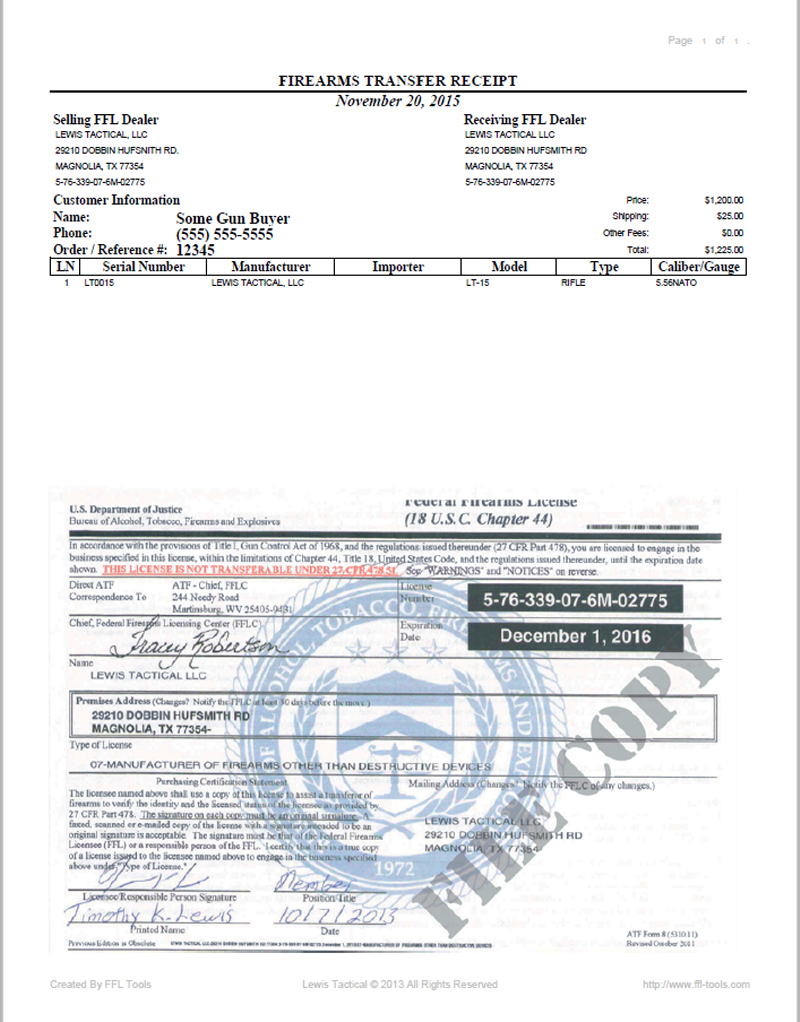
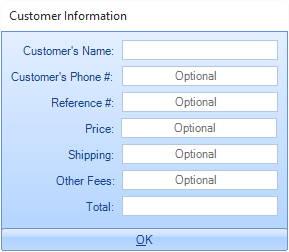 Like the Landscape Packing Slip, all fields are optional and if not included will not be shown on the Packing Slip. Here is an example of the Portrait Packing Slip:
A 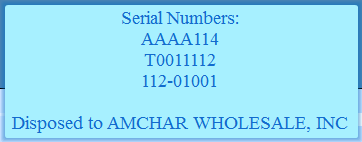 notification will be displayed for six seconds.
If you click ![]() the
the 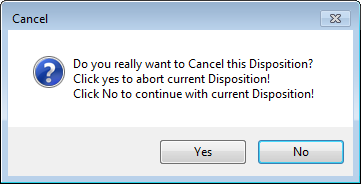 dialog will be displayed. Click
  and the disposition will be canceled. Click
  to continue with the disposition.
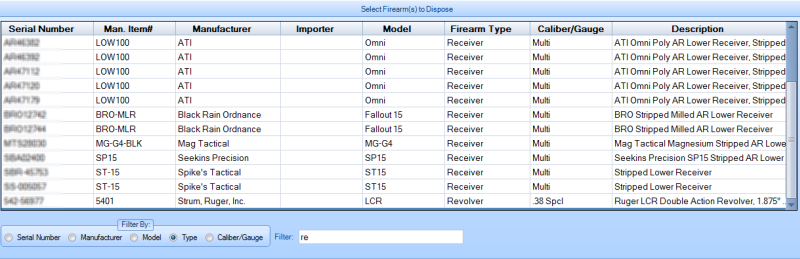
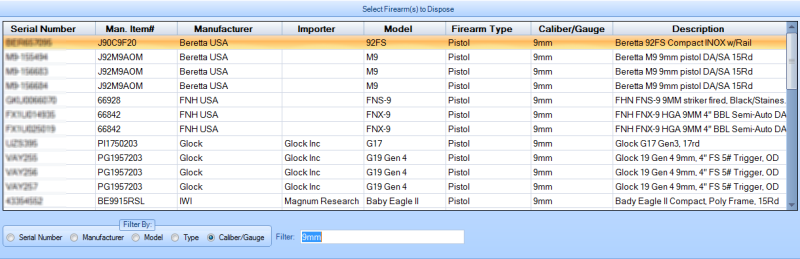
Firearm Data Grid Filter
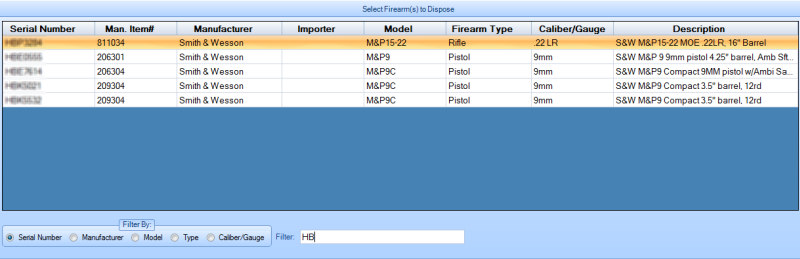
The Firearms Data grid can be filtered by Serial Number, Manufacturer, Model, Type or Caliber/Gauge. To use the filter select the radio button for the type of filter you would like to use and then start typing information into the filter text box.
Filter by Serial Number
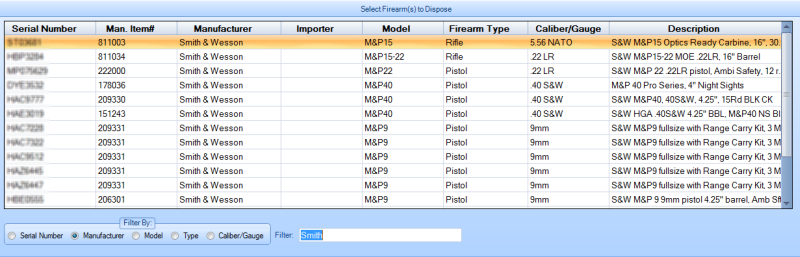
Filter By Manufacturer
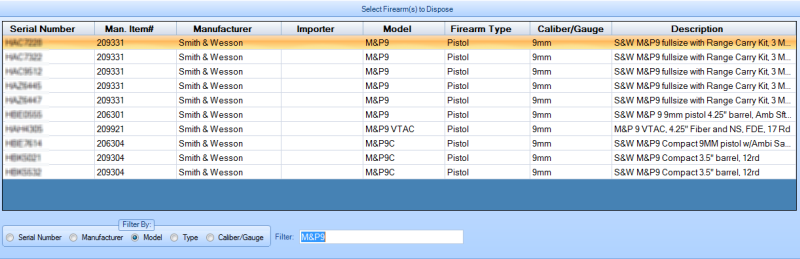
Filter by Model
Filter by Type
Filter by Caliber/Gauge
Close the Disposition Module by clicking the X  on either side of the ribbon bar.