Before setting up the QuickBooks Options in FFL Tools, please setup the RemoteConnector on the computer running QuickBooks.
To enable the QuickBooks Integration Click  and then on the left hand panel click QuickBooks
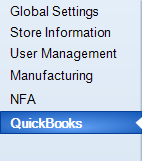 to display the QuickBooks Options Page. In the QuickBooks Licensing Controls panel
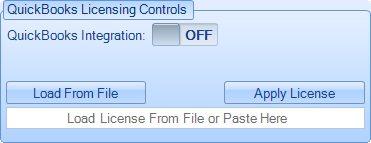 click
click  to turn it
  and the Connection Setting panel will be displayed.
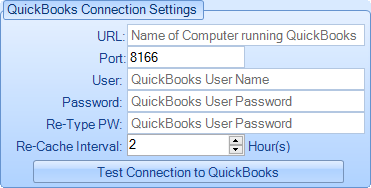
URL: |
Type in the computer name or IP address of the computer that is running QuickBooks and the RemoteConnector. |
Port: |
Enter the port number used when setting up the RemoteConnector. The default port is 8166. |
User: |
Enter the user name defined when setting up the RemoteConnector. |
Password: |
Enter the password created when setting up the RemoteConnector. |
Re-Type PW: |
Enter the password again |
Re-Cache Interval: |
Set the number of hours between table caching. Can be between 1 and 12 hours. In an environment where most items, vendors, or customers are added via FFL Tools, then 2 hour re-cache interval works well. |
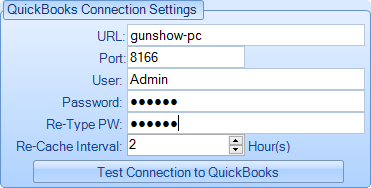
Once the QuickBooks Connection Settings have been defined click the  button. This will test the connection settings and display the
 dialog.
If the connection is successful then the QuickBooks tables that are needed for the integration will be cached and the above dialog will refresh with the caching status. Once caching is complete the QuickBooks setup panels will be displayed.
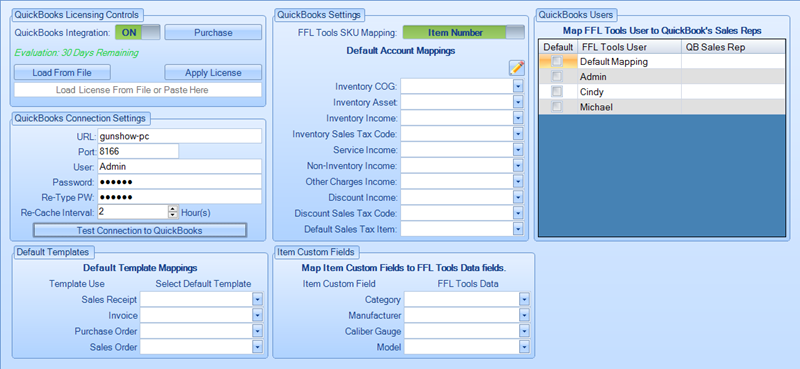
Use the Default Templates panel to set the QuickBooks templates to be used when creating Sales Receipts and Invoices. You can also set the Purchase Order and Sales Order templates, but these have not been implemented at this time.
Use the QuickBooks Setting panel to set SKU mapping and Default Account Mappings
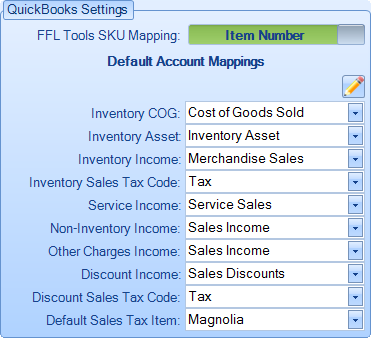
By default FFL Tools will map SKUs to QuickBooks Item Name/Number. You can change it to map SKUs to QuickBooks Manufacturer's Part Number by clicking  and it will change to
  . Clicking it again will change it back to Item Number.
Set the Default Account Mappings for each item listed. The drop downs for each item will contain the accounts of that type that are defined in your QuickBooks installation. These are the default values that will be used when creating Customers, Vendors, Items, Bills, Invoices, or Sales Receipts via FFL Tools. These are the default values and can be changed when creating objects in QuickBooks at the time of creation.
If you have Custom Fields for your Items in QuickBooks then the Item Custom Fields panel will be displayed.
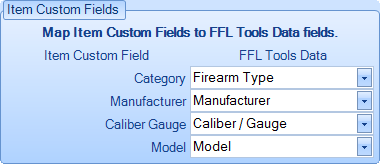
Each Item Custom Field can be mapped to one of a firearm's attribute: Caliber / Gauge, Firearm Type, Importer, Manufacturer, or Model. In this example four Item Custom Fields have been defined in QuickBooks. By using Category and then mapping Firearm Type allows for non-firearm Items to be categorized in QuickBooks. So I acquire a new SKU in FFL Tools and it is a Pistol. When the Item is added to QuickBooks the Category will be Pistol. Say I also purchase some magazines for that pistol. When I add the magazines to the Bill and click Custom Fields, all the fields will be blank. I can then put in Magazine for the Category.
This is helpful because I can then use the search feature in QuickBooks Items and search Custom Fields for Magazine and all items that are of Category Magazine will be displayed.
Use the QuickBooks Users panel to map FFL Tools users to QuickBooks Sale Reps. This is used when creating Invoices in FFL Tools.
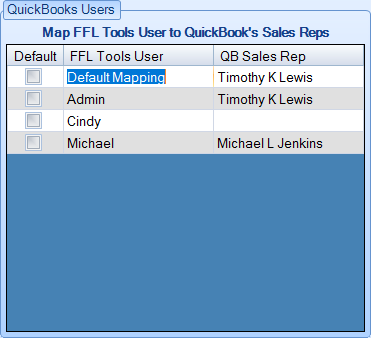
To map an FFL Tools User to a QuickBooks Sales Rep, Click the QB Sales Rep cell for the corresponding FFL Tools User you wish to map. A list of QuickBooks Sales Reps. will display
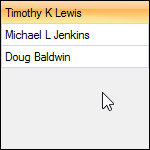 Click the Sales Rep's name that you wish to use.
Some notes about this panel. In the above example when Admin is logged in to FFL tools then Timothy K Lewis will be used as the Sales Rep when creating an Invoice.
If Michael is logged in, then Michael L Jenkins will be used.
If Cindy is logged in, because her FFL Tools User is not mapped, then the Default Mapping will be used which is Timothy K Lewis.
If the Default Mapping check box is checked, then whoever is defined by the Default Mapping will be used to create the Invoice even if the person logged into FFL Tools has a Sales Rep mapped.
Here is an example after all QuickBooks Options have been defined.
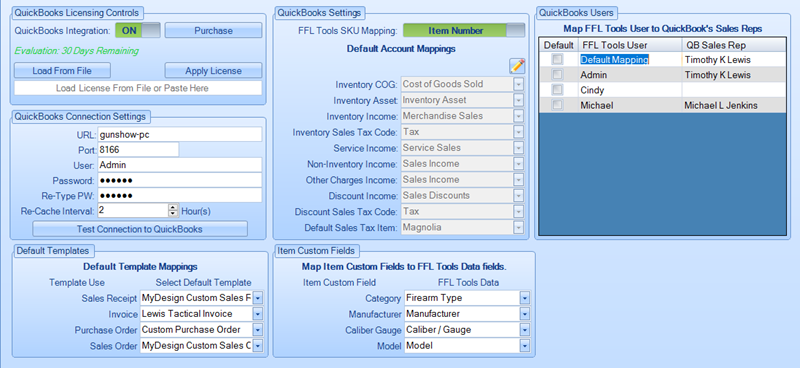
You are now ready to save time in your Acquisition and Disposition process by removing the overhead of double entering the same data in FFL Tools and QuickBooks.