QuickBooks Bills can be generated using the Acquire Module in FFL Tools. During the Bill creation process, existing QuickBook vendors can be used or new QuickBook vendors can be created. The same is true for QuickBooks Item Name/Number or Manufacturer's Part Numbers (depending on your Options Setting). In our example FFL Tools SKUs will be mapped to QuickBooks Item Name/Number.
FFL Tools attempts to "auto-map" FFL Tools vendors to QuickBook Vendors. Auto-mapping occurs when there is an exact match found for a FFL Tools vendor in the QuickBooks vendor table. When an exact match is not found you will be given the option to "map" the FFL Tools vendor to an existing QuickBooks vendor, or create a new QuickBooks vendor.
Examples of when you may want to map an FFL Tools vendor to a different QuickBooks vendor would be:
You have the same flexibility with FFL Tools SKUs and QuickBooks Item Name/Number as you do with vendors. The system will attempt to "auto-map" FFL Tools SKUs to QuickBooks Items. If an auto-mapping is not found you will have the option to map the SKU to an existing Item, or create a new Item.
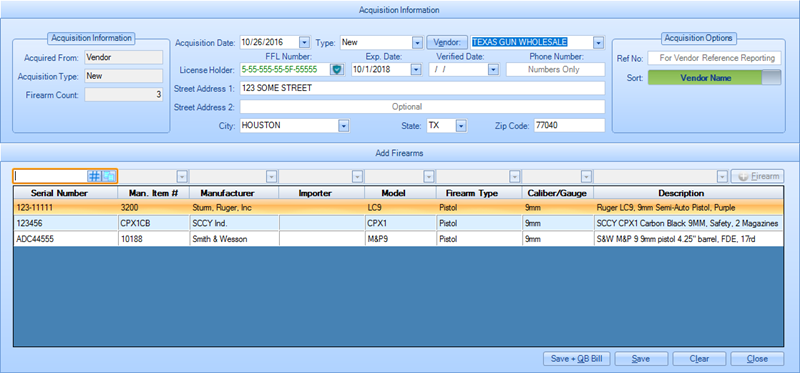
In this example three firearms are going to be acquired. One has an exact SKU - Item Number match, one SKU has an Item Number in QuickBooks but it is not an exact match, one is a new SKU and Item Number.
Acquire firearms using the normal process but instead of clicking the  button, click the
  button.
If the FFL Tools vendor was not auto-mapped to a QuickBooks vendor, the Vendor Not Found dialog will be displayed.
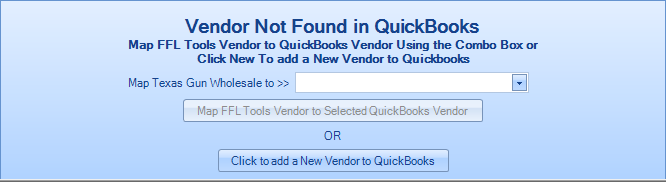
Here you have the option of mapping the FFL Tools vendor to an existing QuickBooks vendor or creating a new QuickBooks vendor.
Use the drop down or start typing the known QuickBooks vendor's name in the drop down.
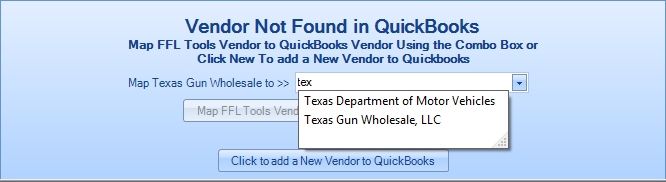
Then select the QuickBooks vendor you wish to map.

Click the  to map the FFL Tools vendor to the QuickBooks vendor.
Click the  button to display the Add Vendor dialog.
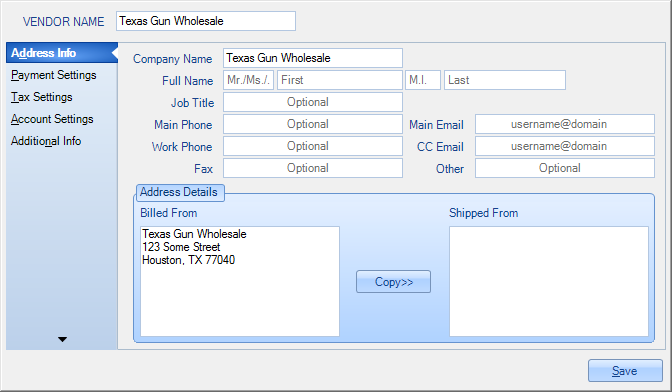
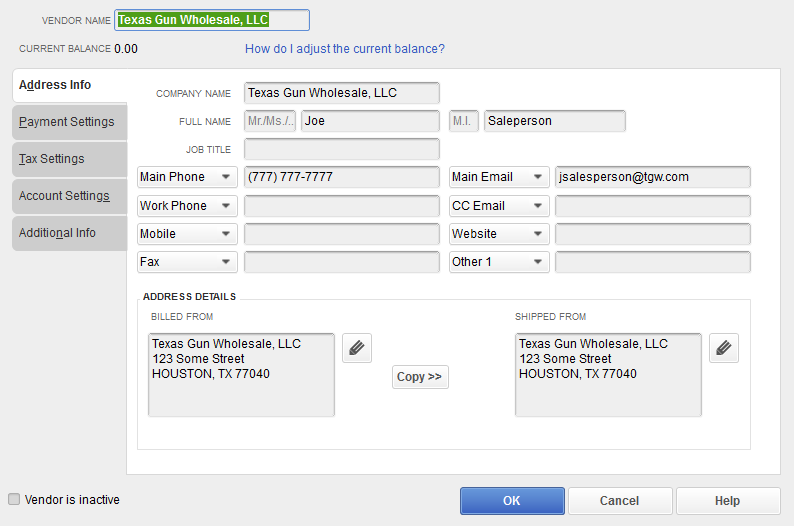
The FFL Tools Add Vendor dialog was designed to look like the QuickBooks Add Vendor dialog. The Vendor Name, Company Name, and Billed From fields will be auto-filled with data from FFL Tools. All information needed to create a new vendor in QuickBooks is on the form. If you do not wish to add any additional information, you can click  to create the new vendor and proceed to Bill Creation.
Optional: On the Address Info tab make any changes that are needed.

The Vendor and Company Name were changed adding , LLC. The Full Name, Job Title, Main Phone, and Main Email have been added. The Billed From was also copied to Shipped From
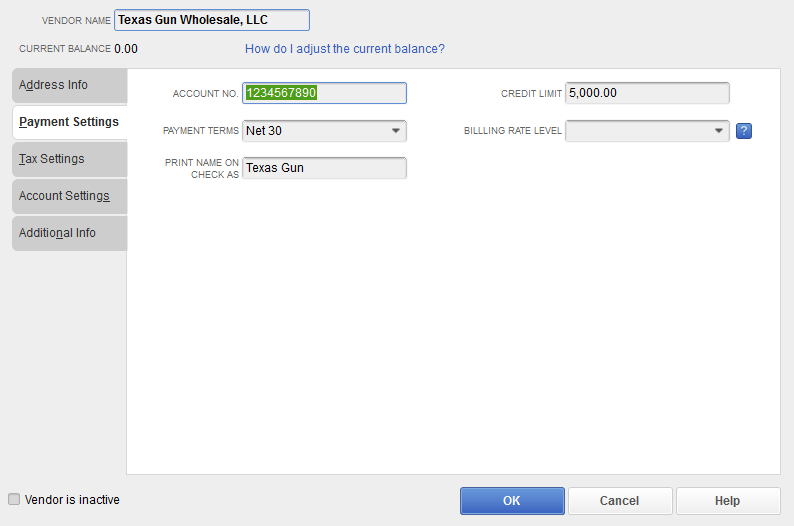
Optional: Click the Payment Settings to display
![]()
Make any changes needed or wanted.

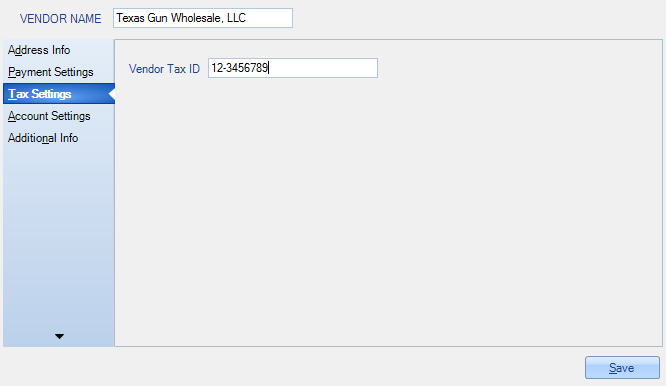
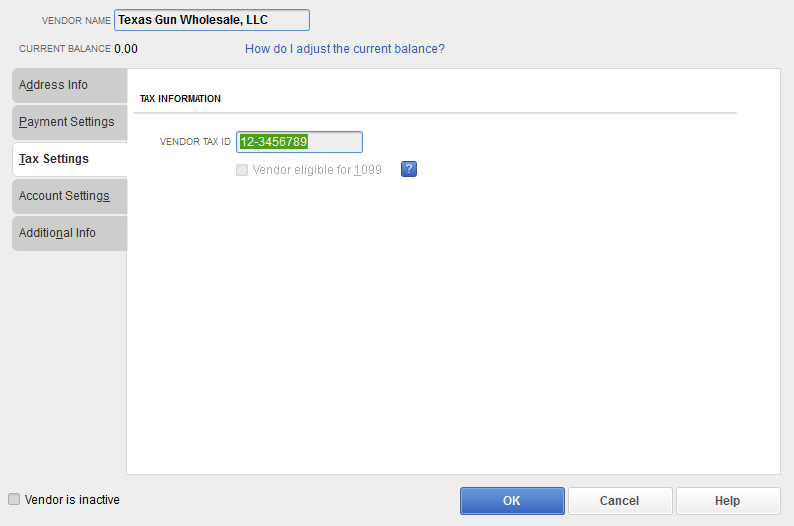
Optional: Click the Tax Settings tab to display
![]()
Enter the Vendors Tax ID
Click to create the new vendor in QuickBooks. This process will map the FFL Tools vendor to the newly created QuickBooks vendor.
The system will then attempt to "auto-map" the FFL Tools SKUs to the QuickBooks Item Name/Number. In our example SKU 3200 has a matching QuickBooks Item Name/Number so it is auto-mapped.
FFL Tools SKU CPX1CB does not have an exact match; in QuickBooks it is CPX-1 CB. In this case the FFL Tools SKU can be manually mapped to the QuickBooks Item Name/Number when the Item Not Found in QuickBooks dialog displays.
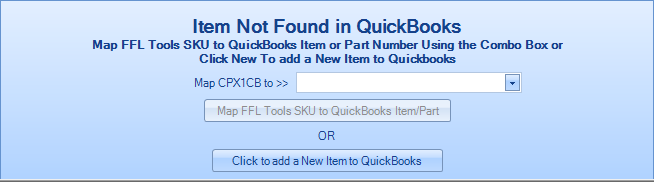
Use the drop down to select the QuickBooks Item. This can also be done by typing in the drop down to narrow the selection.
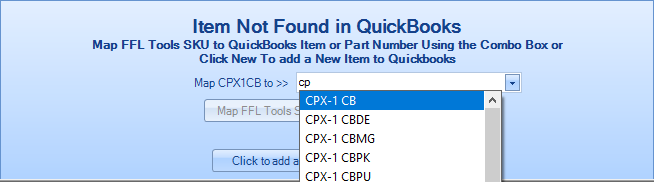
Once the selection is made, click the  button to map the FFL Tools SKU to the QuickBooks Item Name/Number.
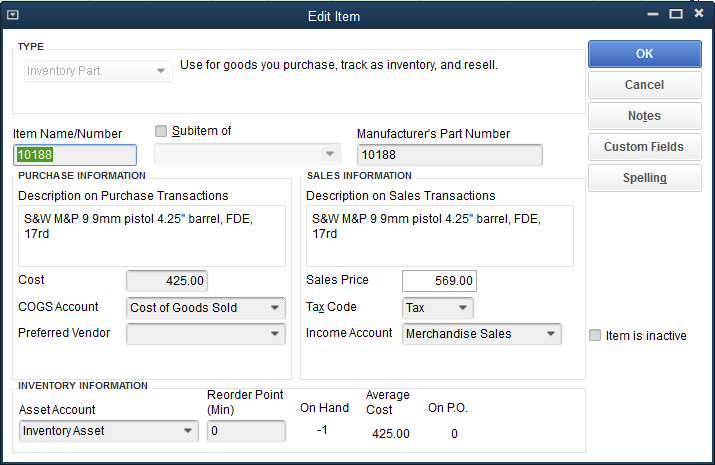
FFL Tools SKU 10188 is a new SKU in FFL Tools and currently does not have a matching QuickBooks Item Name/Number. In this case, we are going to create a new QuickBooks Item Name/Number. When the Item Not Found In QuickBooks dialog is displayed,
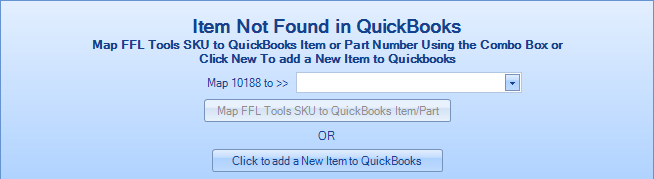
click the  button. FFL Tools will then display the Add Item dialog.

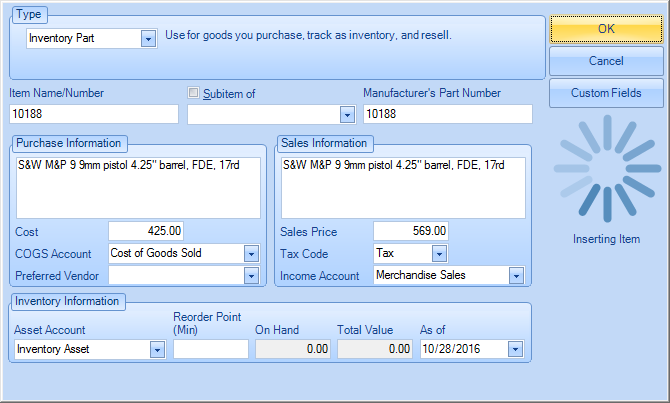
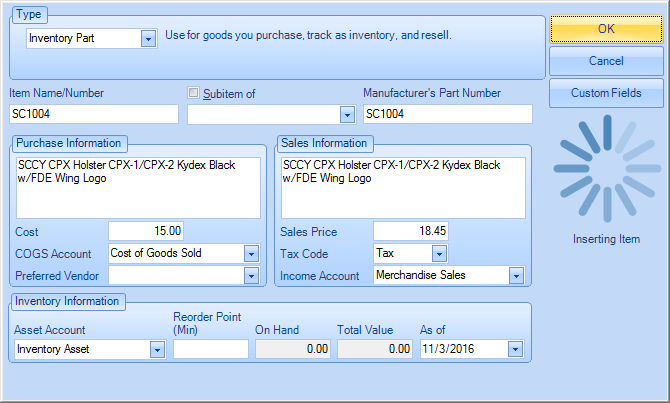
Select Inventory Part for the Type drop down. The Item Name/Number, Purchase Information, Sales Information will be auto filled with values from FFL Tools.
Put in the Cost and Sales Price.

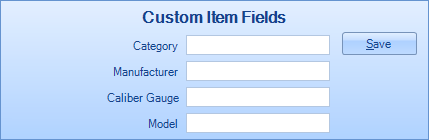
Optional: If you are using Item Custom Fields in QuickBooks, and the Item Custom Fields were defined in QuickBooks Options then the Custom Fields will be filled with data from FFL Tools.
Click the  button to open the Custom Fields dialog

Make any changes that are needed and then click to save your changes and close the dialog.
The COG Account, Tax Code, Income Account, and Asset Account values will be auto-set using the values that were defined in QuickBooks Options. You can use the drop downs for each of these items to make any changes necessary.
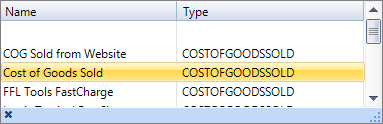
COG Account drop down:
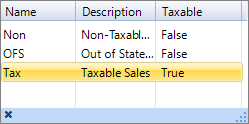
Tax Code drop down:
Income Account drop down:

Asset Account drop down:

Note: Values in these drop down are from QuickBooks so your account names may differ from the ones you see in the images above.
Once all values have been set, click the  button to insert the new Item into QuickBooks.
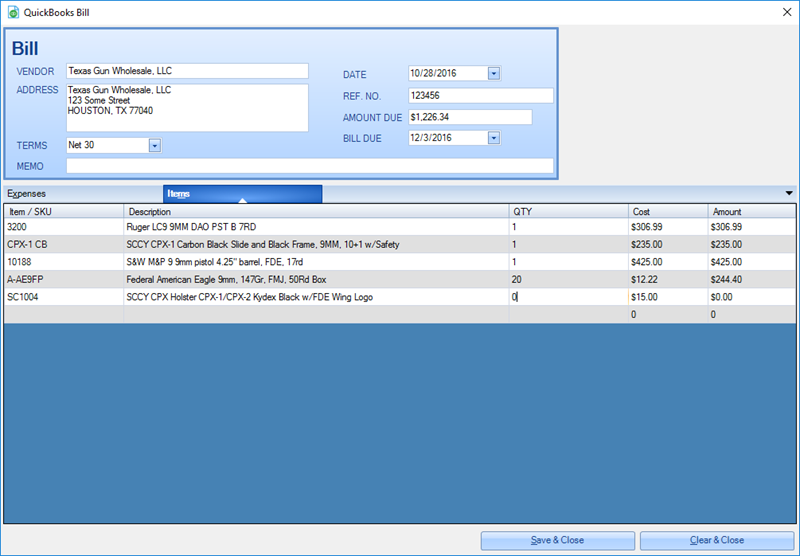
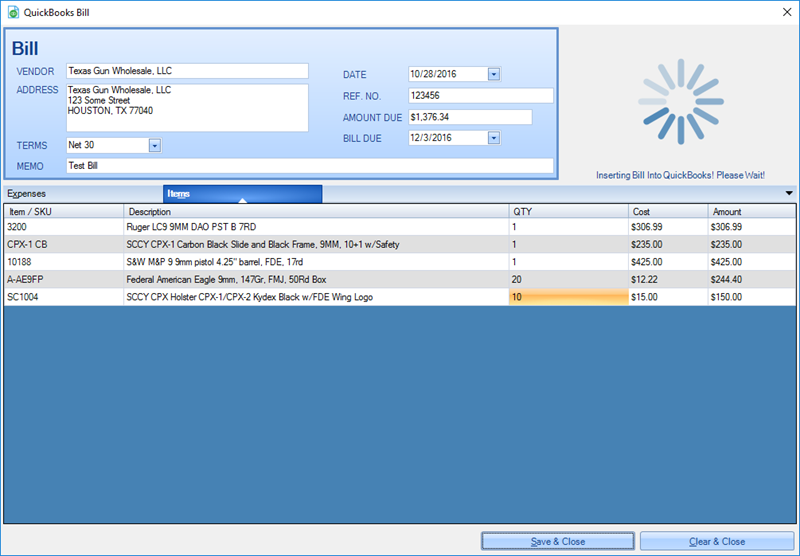
Once all FFL Tools SKUs have been auto-mapped or manually mapped to QuickBooks Item Name/Numbers and/or new QuickBooks Item Name/Numbers are created, the Bill form will display.
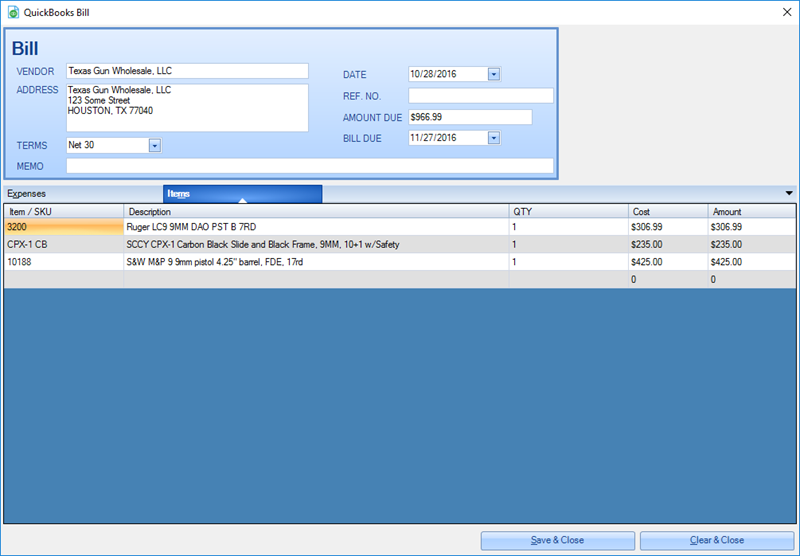
If you forgot to put in the Ref Number before clicking the button, you can add it in the QuickBooks Bill form.
The costs that are displayed on the screen are from QuickBooks. You can adjust them as needed. As cost are adjusted the AMOUNT DUE field will be recalculated real-time.
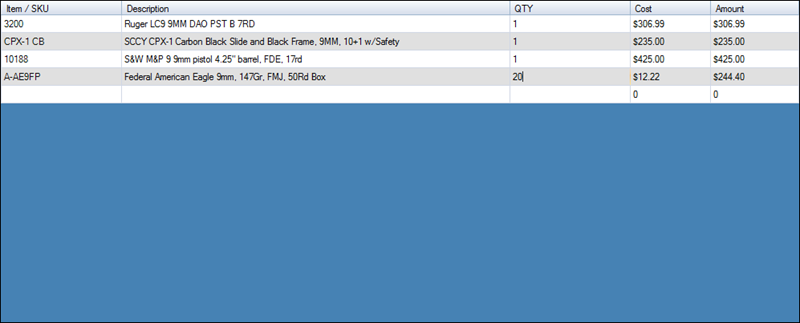
You can also add non-firearm Items to the Bill. In this example we are going to add some 9mm ammo.

Click in the Item/SKU column on the blank row below the last Item/SKU to create a drop down of all the Items that are in QuickBooks. If you do not click the drop down arrow you can start typing the known QuickBooks Item Number. If you click the drop down arrow you can scroll though the values until you find the item that needs to be added. Click the item and the row will be filled with the values from QuickBooks. Change the QTY to the quantity being received.
You can also create a new QuickBooks Item from this screen by typing in a Item / SKU that does not currently exist in QuickBooks. The Item Not Found dialog will be displayed allowing for the creation of a new QuickBooks Item Name/Number.

Click the button to display the New Item Dialog

Because this item is unknown to FFL Tools or QuickBooks you will have to supply the information. If you are using Custom Fields, click the button to display a blank Custom Fields Dialog.
Update the fields

Click the button to save the values entered.
Once all data has been added for the New Item click to insert the new item into QuickBooks.
The Bill will be updated with the new items information.
Change the QTY for the new item to the amount being received. (Notice the Amount Due changes as you adjust the QTY for the Item)

The Bills form will also allow you to record Expense Items for an Invoice. The most common would be shipping. Click the Expense Tab in the Bill to show the Expense grid.
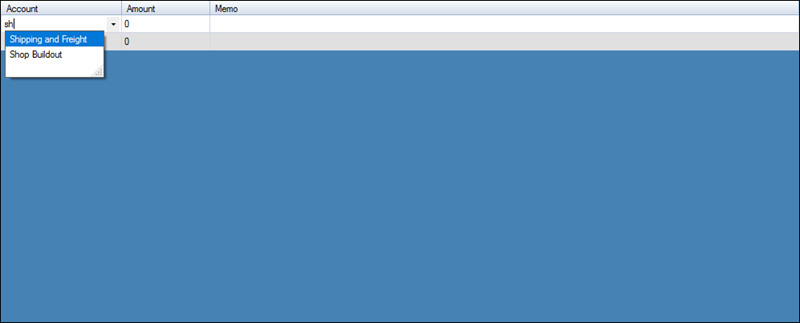
Start typing or use the drop down to select the Expense account. Tab to or click the Amount cell and put in the expense amount.
Basic math formulas are allowed in the Amount fields. You can type 12+2.95 and when you leave the cell it will show 14.95. Also as you change any Amount, Cost, or Quantity values on the form, the Amount Due field is updated real-time.

Once all Invoice information has been added to the Bill, click  button to insert the Bill into QuickBooks
Once the Bill has been inserted the  notification will display in the lower right hand side of the screen.
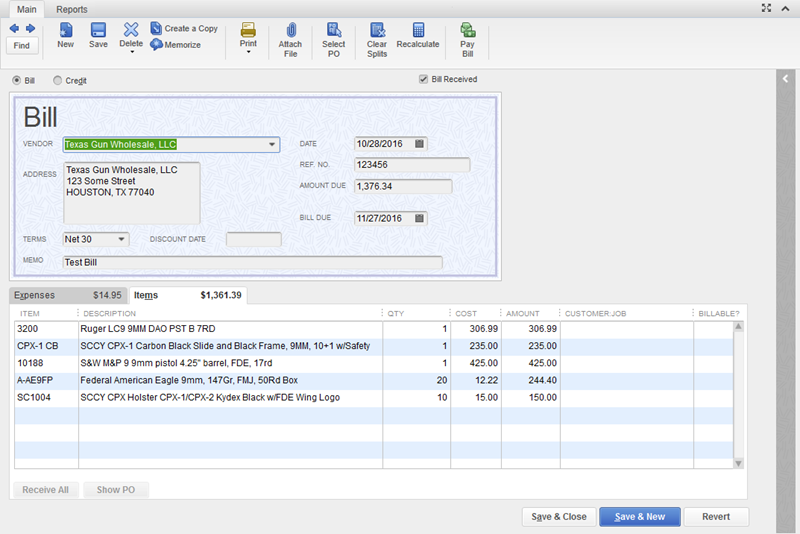
You can then open the new Bill in QuickBooks.
The Items Tab:
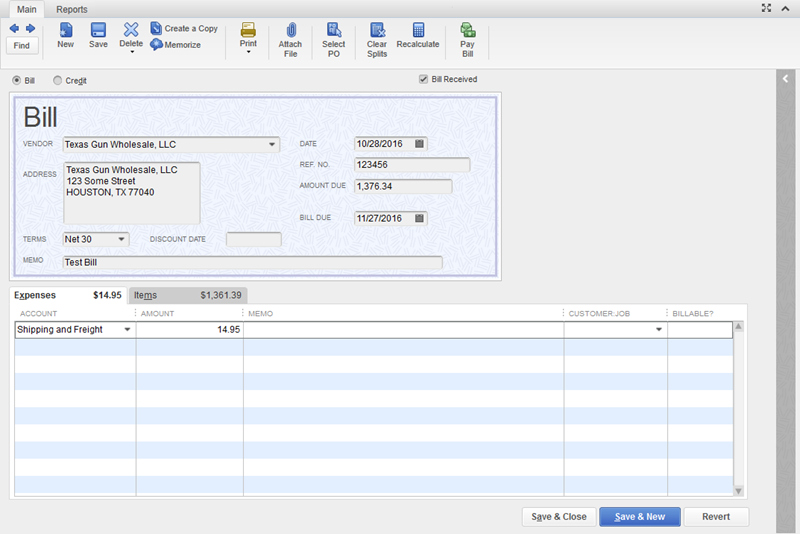
And the Expense Tab:
Here is the new Vendor's information in QuickBooks:
The Payment Settings Tab:
The Tax Settings Tab:
Note: The Account Settings and Additional Info data are not set when creating a Vendor via FFL Tools. If these are used in your operations you will have to update the Vendor's information using QuickBooks.
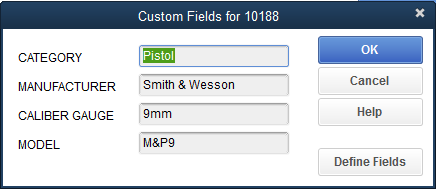
Here is the new Item Name/Number information for FFL Tools SKU 10188:
Custom Fields:
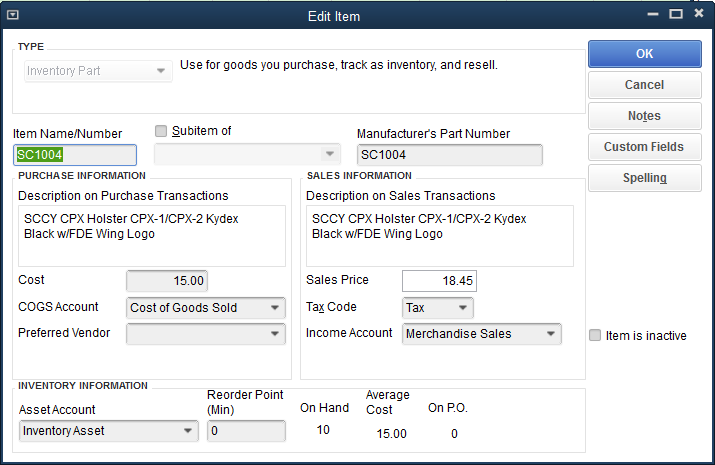
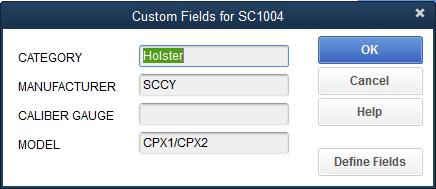
Here is the QuickBooks Item record for the SCCY Holster that was added to the Bill.
Custom Fields
If you wish to cancel the Bill creation then click the ![]() button.
button.
The 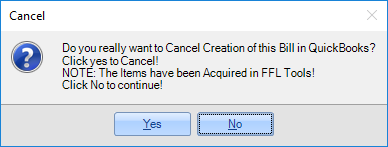 dialog will be displayed. If you click
  then the Bill creation will be canceled and the
  notification will display in the lower right hand side of the screen.