QuickBools Sales Receipts can be generated using the Disposition Module in FFL Tools via the 4473 (Electronic) and Manual radio buttons. In this example the 4473 (Electronic) Disposition will be used to create a QuickBooks Sales Receipt.

After clicking the 4473 you want to dispose, and with QuickBooks enabled there are two additional buttons on the screen,  and
and  .
.
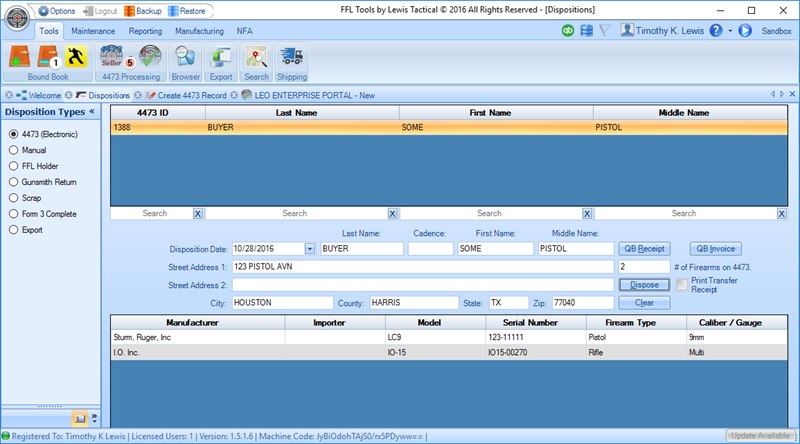
Click the  button to start the Sales Receipt creation process.
FFL Tools will attempt to "auto-map" the FFL Tools customer using the FFL Tools customer's First Name, Middle Initial, Last Name and Street Address with a QuickBooks customer. If it cannot find an exact match the Customer Not Found dialog will display.

In this example we know the customer does not exist in QuickBooks so click the  button to add the customer to QuickBooks. (In the Generating an Invoice help we will manually map to an existing customer.)
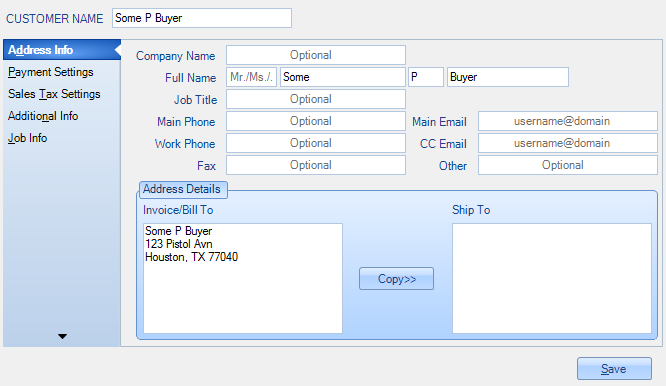
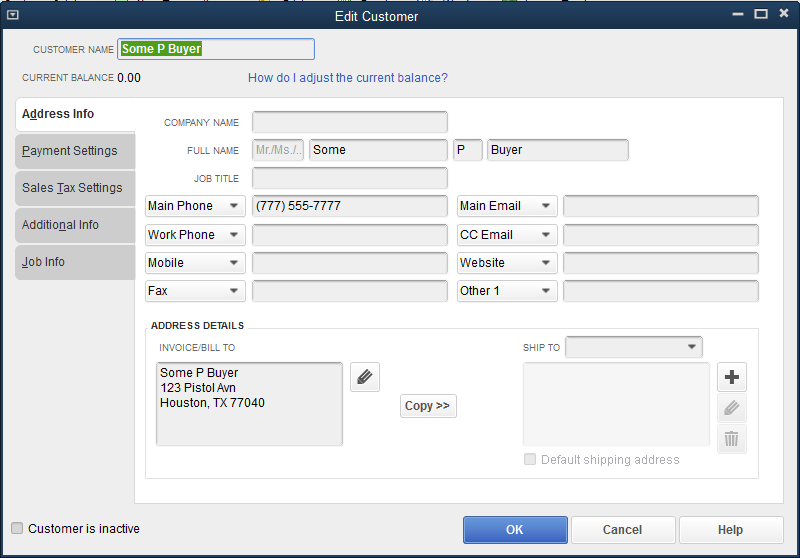
CUSTOMER NAME, Full Name, and Invoice/Bill to values will be populated with data from FFL Tools. All data necessary to create a new customer in QuickBooks has been provided by FFL Tools. You can add data to the customer record as you like.
Optional: Add the person's Main Phone and Main Email.
Optional: By clicking the  button the Invoice/Bill To data will be copied to the Ship To block.

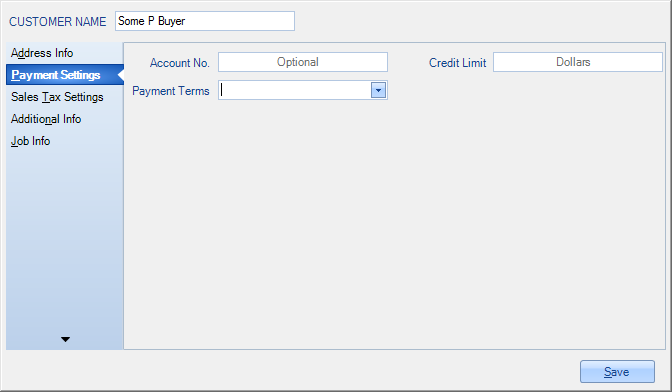
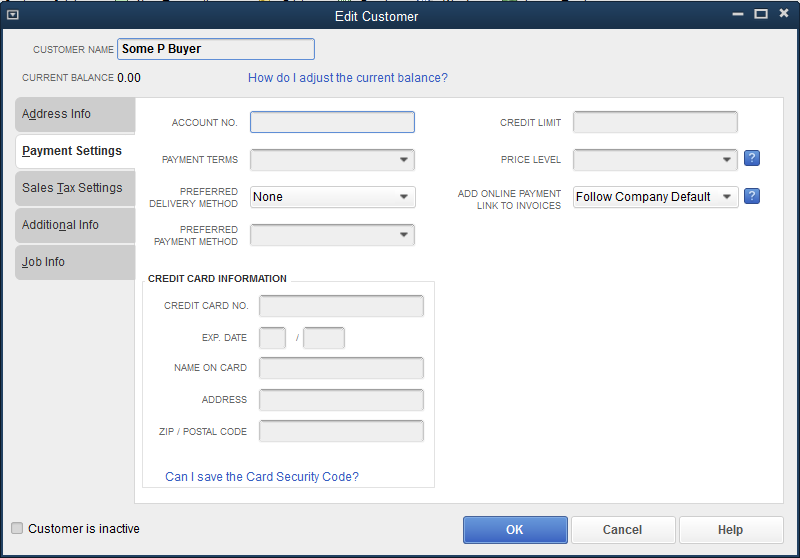
Optional: Click the Payment Settings tab to enter any payment settings.
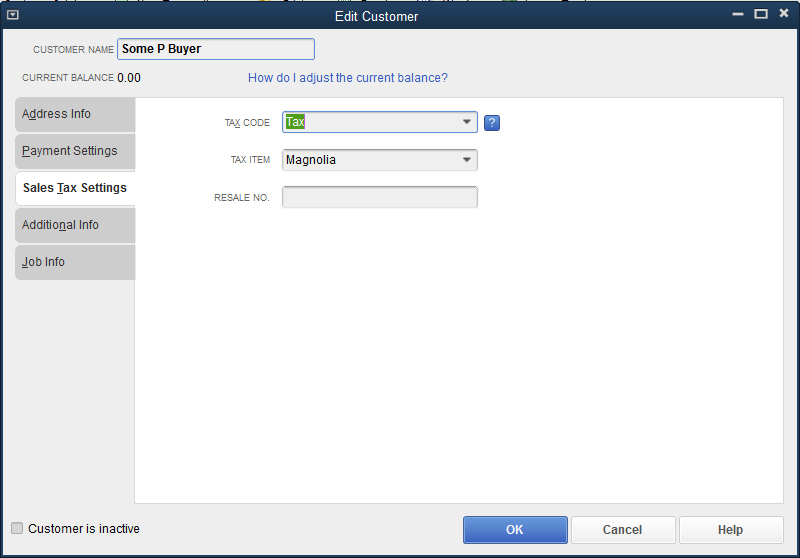
Optional: Click the Sales Tax Setting tab to enter tax information.
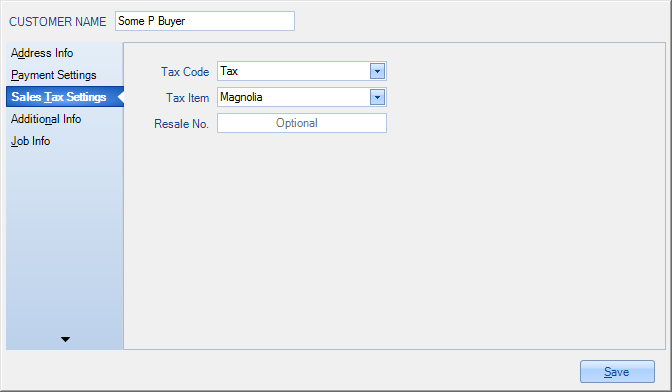
Tax Code and Tax Item will be populated from FFL Tools using the setting defined in QuickBooks Options. You can change them if needed.
Once all information that you wish to add has been entered, click the  button to create the new QuickBooks Customer.
The system will then attempt to "auto-map" the FFL Tools SKUs to the QuickBooks Item Name/Number. In our example SKU 3200 has a matching QuickBooks Item Name/Number so it is auto-mapped.
FFL Tools SKU IODM2019 does not have a matching QuickBooks Item Name/Number. In this case, we are going to create a new QuickBooks Item Name/Number. When the Item Not Found in QuickBooks dialog displays,

click the  button to open the New Item Dialog.
Note: Adding a new item during the Disposition process should be an exception. The end result of doing this is you will have a negative quantity of the new Item Name/Number in QuickBooks. In most cases you would manually map the FFL Tools SKU to an existing QuickBooks Item Name/Number. That process will be shown in Generating an Invoice help.
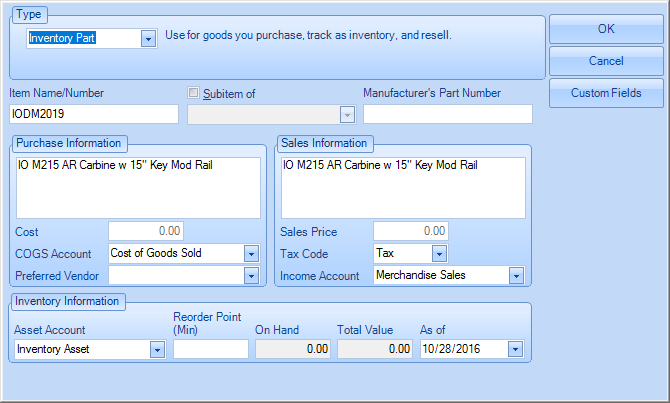
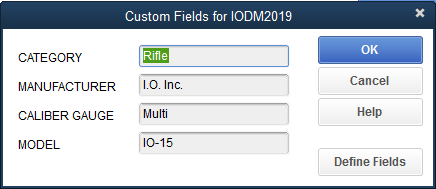
Add Cost and Sales Price. If Item Custom Fields are being used in QuickBooks, and you wish to verify or change the values provided by FFL Tools, click the  button to open the Custom Item Fields dialog.

Make changes if needed and click the  button to save your changes and close the Custom Fields dialog.
Once all changes have been made for the item, click the  button to insert the new Item into QuickBooks

Once all FFL Tools SKUs have been auto-mapped or manually mapped to QuickBooks Item Name/Numbers and/or new QuickBooks Item Name/Numbers are created, the Sales Receipt form will display.

The Customer Job, Date, Sold To, and QTY information are provided by FFL Tools. The Item / SKU, Description, Rate, Item Tax are provided by QuickBooks. The Template and Sales Receipt Tax values will be auto-set using the values that were defined in QuickBooks Options. You can use the drop downs for each of these items to make any changes necessary. Customer Message is not auto-set but the drop down contains values from QuickBooks.
Template drop down:

Sales Receipt Tax drop down:
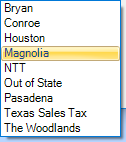
Customer Message drop down:

Note: These drop down will contain values from your QuickBooks environment.
As you change the Sales Receipt Tax value, the Tax Rate label will change to reflect the tax rate for the rate selected. The Tax Amount will auto-calculate as will the Total.
Optional: You can set the type of payment using the Payment buttons.

When a button is clicked, it "lights up". In this example Cash was clicked. Only one payment type can be selected. If you need to accept more than one payment type for a sale, use an Invoice which allows for multiple payments to be applied.

Click in the Item/SKU column on the blank row below the last Item/SKU to create a drop down of all the Items that are in QuickBooks. If you do not click the drop down arrow you can start typing the known QuickBooks Item Number. If you click the drop down arrow you can scroll though the values until you find the item that needs to be added. Click the item and the row will be filled with the values from QuickBooks.

Change the QTY to the quantity being sold.

You can change the Rate of items by clicking on the cell in the Rate column you wish to change. Type in the new sales price and then leave the cell with a mouse click or by tabbing out. The Tax and Total will be auto-calculated to reflect the change.

In this example two more items will be added and then one of them will be removed before the Sales Receipt is generated.


Any item in the list can be removed by right clicking the item to display the  context menu item. Click the
  and the item that was right clicked will be removed from the Sale Receipt.

Once all data is complete, click the  button to insert the Sales Receipt into QuickBooks.
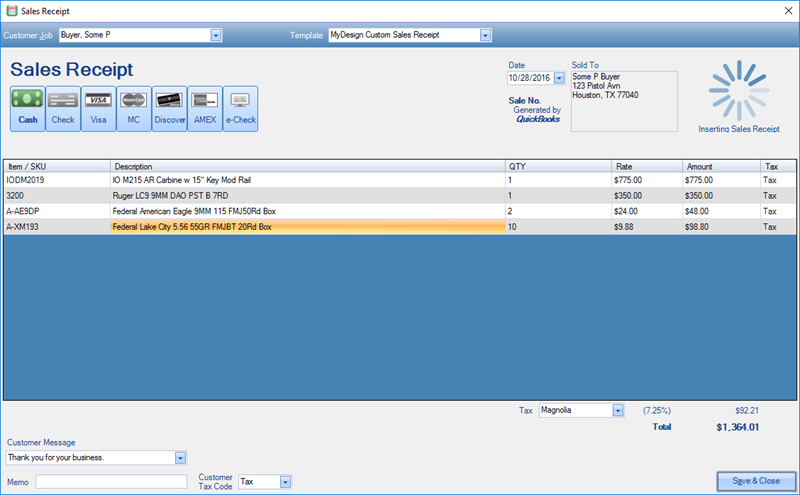
When the Sales Receipt is successfully inserted the  notification will be displayed in the lower right hand of the monitor. The successful completion of a Sales Receipt will disable the
  and
and  buttons so a duplicate Sales Receipt or Invoice cannot be created for the Sale. If any edits need to be made to the new Sales Receipt they must be performed using QuickBooks.
Due to the limitation of the QuickBooks API, you must open the Sales Receipt in QuickBooks to print it out.
The Serial Number for the firearms was added to the DESCRIPTION column on the Sales Receipt.
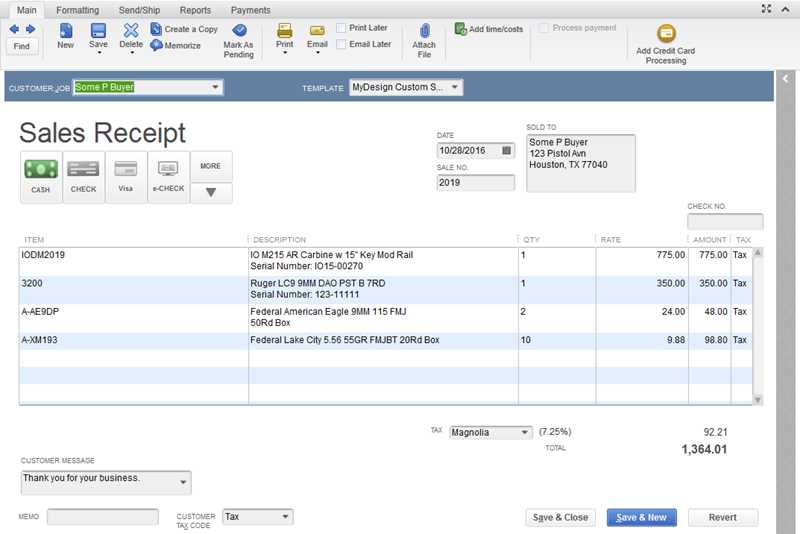
You can print the Sales Receipt using the standard printing functions in QuickBooks.
The new Customer's Address Info tab in QuickBooks.
The new Customer's Payment Settings tab in QuickBooks.
The new Customer's Sales Tax Setting in QuickBooks.
Note: FFL Tools does not insert any values in the Additional Info or Job Info tabs when new Customers are created. If information for these tabs are used in your operations you will need to edit the Customer within QuickBooks.
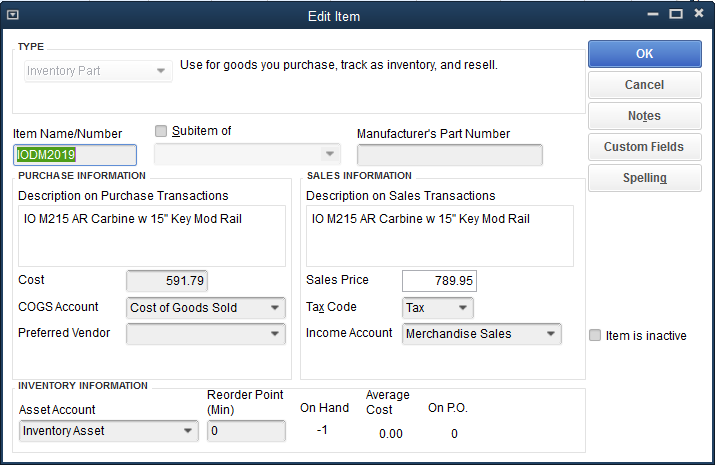
Note: Because we added an item during the Disposition process, the On Hand quantity is now -1...
The new Item's Custom Fields in QuickBooks.
If the Sales Receipt creation fails or if it is canceled, a  notification will be displayed.